Shaping and filling the danish. I made 2 rounds of the danish. The first I worked the dough a little before rolling it. The second time I put more flour on the counter and didn't work any further into the dough, trying to keep the butter pieces bigger. I don't think there was that much of a difference. Next time I'm going to try laminating - layering the butter and then folding the dough over, rolling it out, and refrigerating between folding/rolling sessions. It seems as though that's the only way to really get the flakiness. Or maybe I'll just use bigger pieces of butter and see if that works. The recipe I used, I like, because it doesn't use so much butter, but then not enough butter and it's not flaky. I suppose if it was butterier, I may be satisfied with eating much less. These tasted so good though, I could hardly stop and have to give them away to get them out of the house!

Making the almond filling:
My sister's homemade almond paste and confectioner's sugar

Now it's time to add the egg, vanilla and (I'd recommend) almond extract.


The final filling
Rolled out dough, after doing a few kneads.
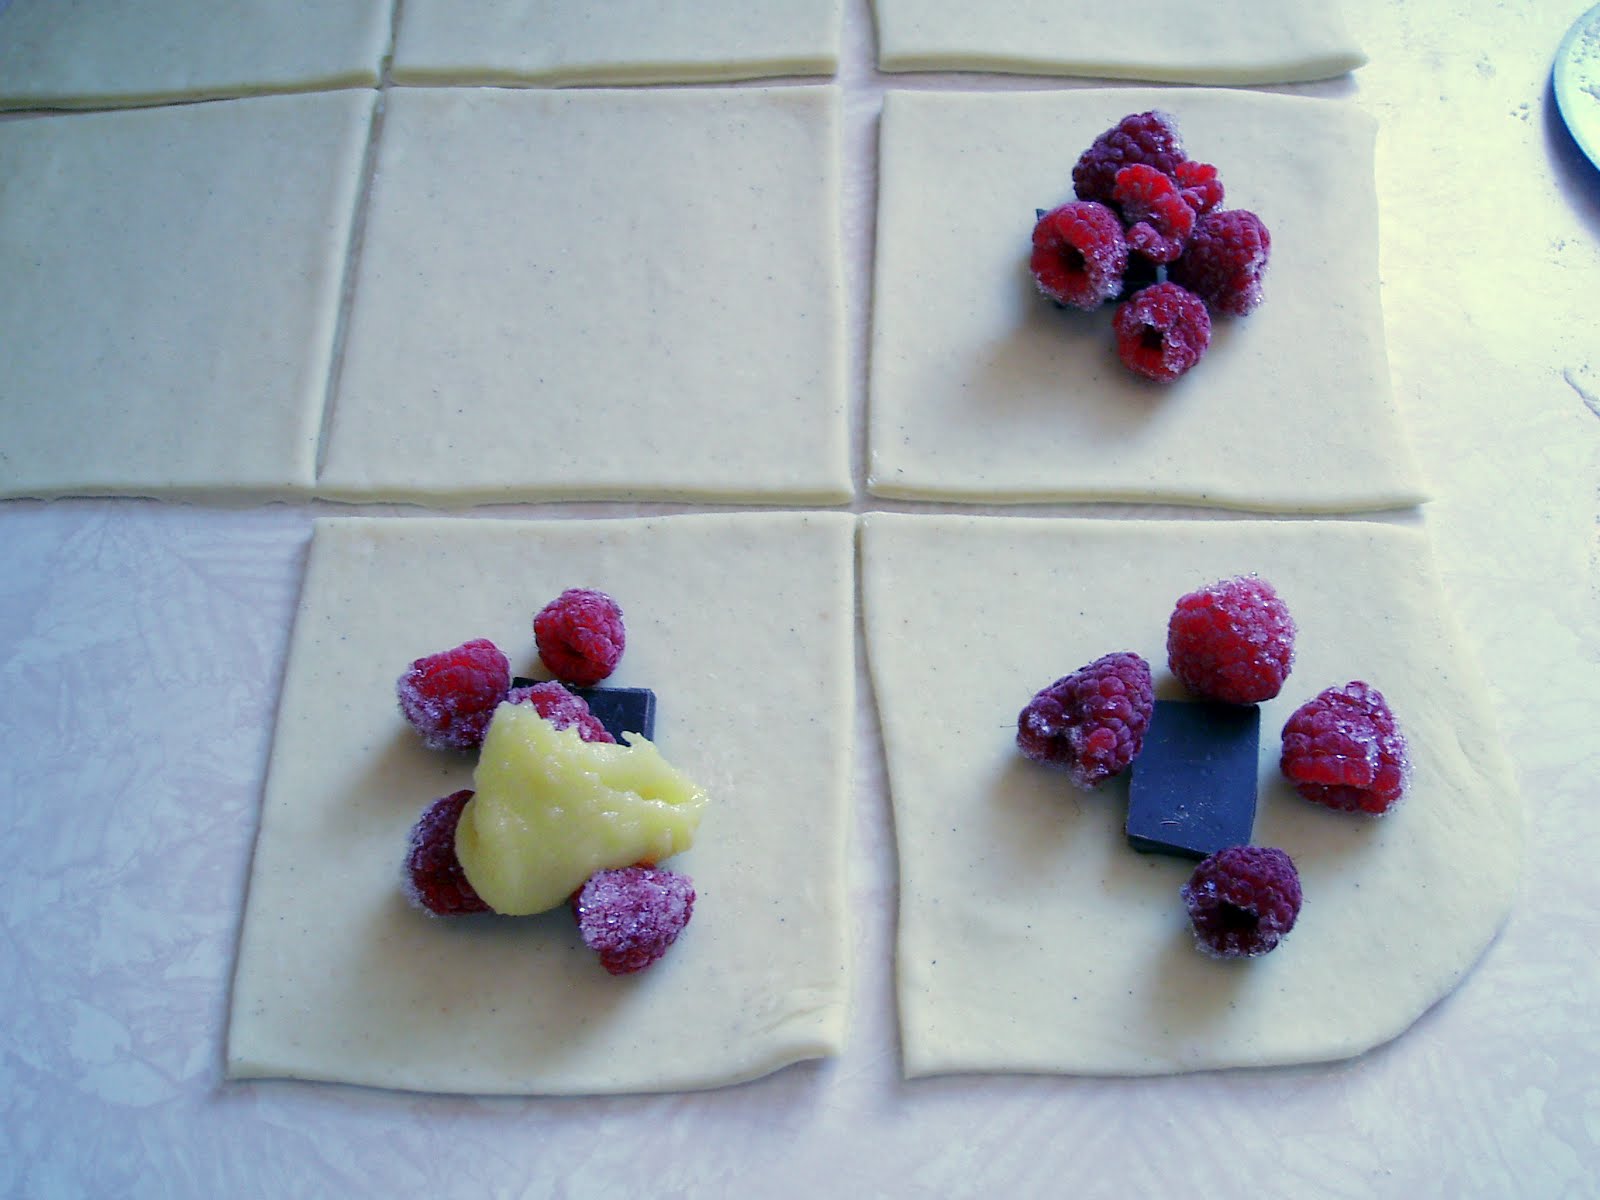
For the first round, I made a few different types;
* frozen raspberries (picked last summer) and bittersweet chocolate
* raspberries, chocolate & almond filling
* almond filling & raspberries
* almond filling

Filled & waiting to rise. Using the raspberries from the freezer slowed down the rise. Took me a while to realize why it was taking so long! I wasn't sure if I would ever make these again, so I wanted to try out several different shapes.
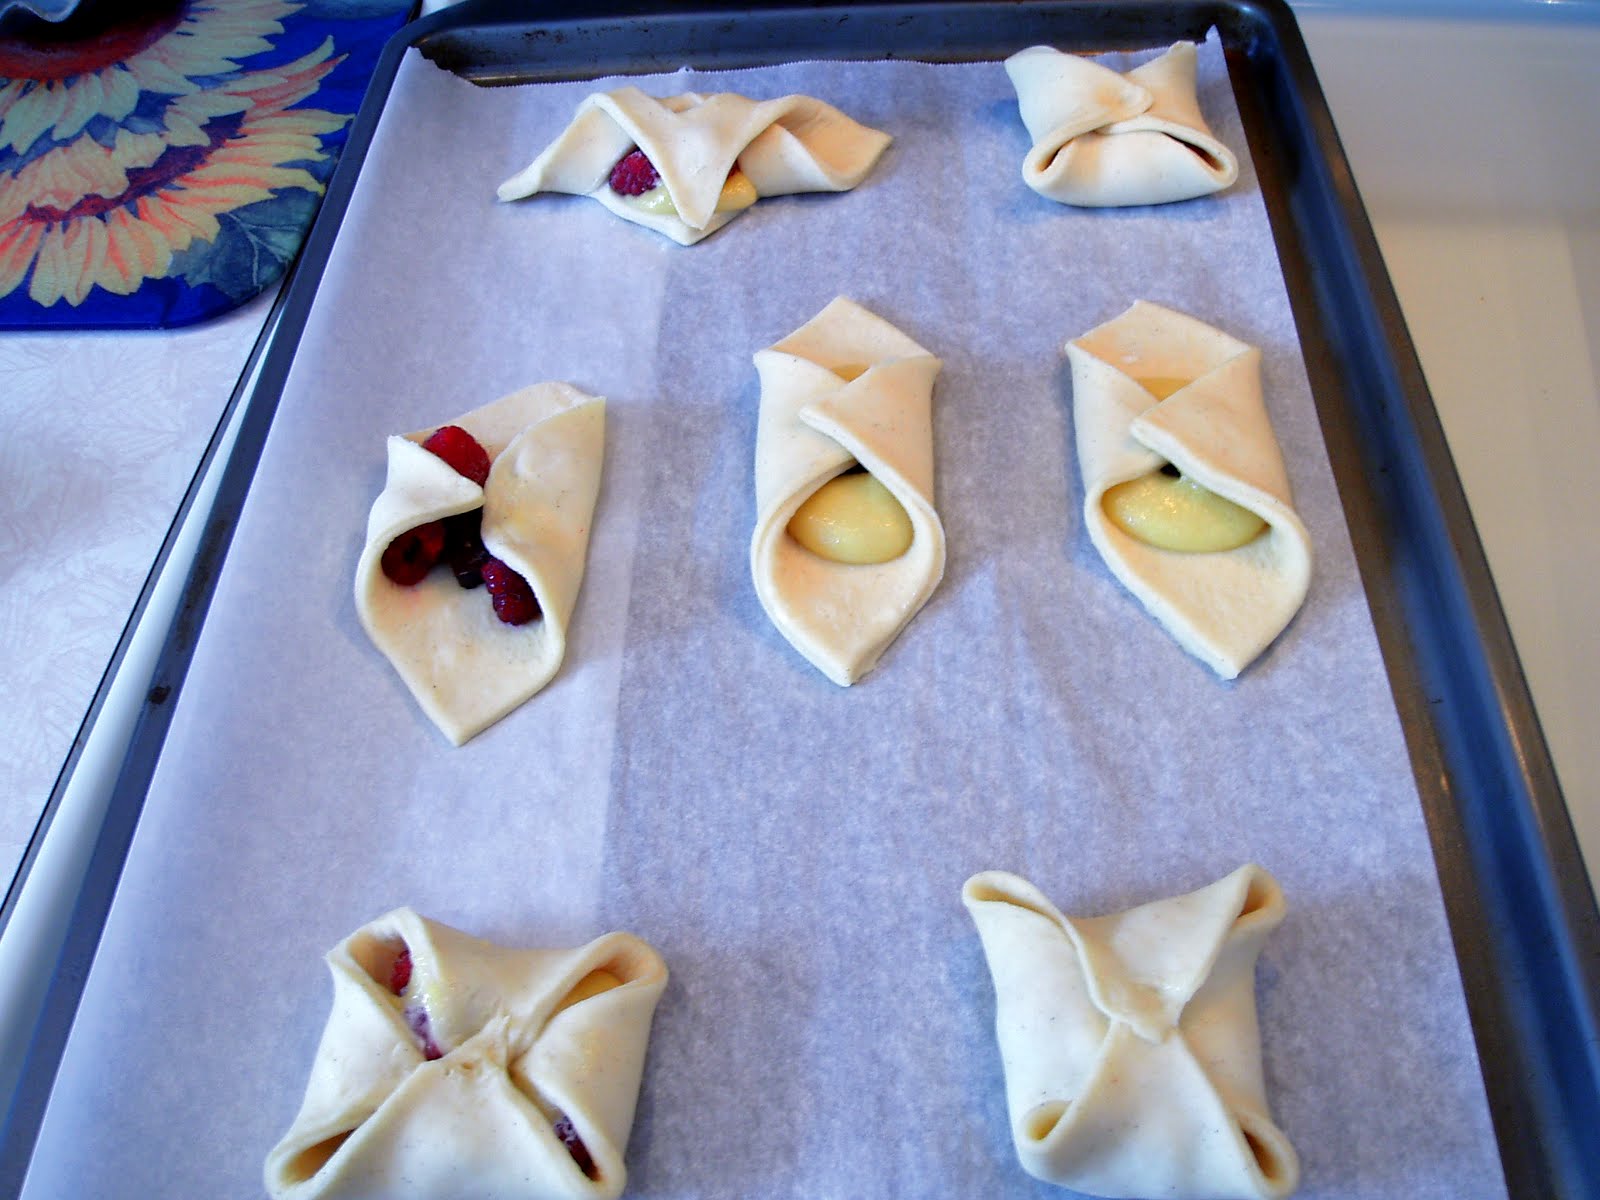
shapes: envelopes and spandauer (I think)
More shapes - triangle twists
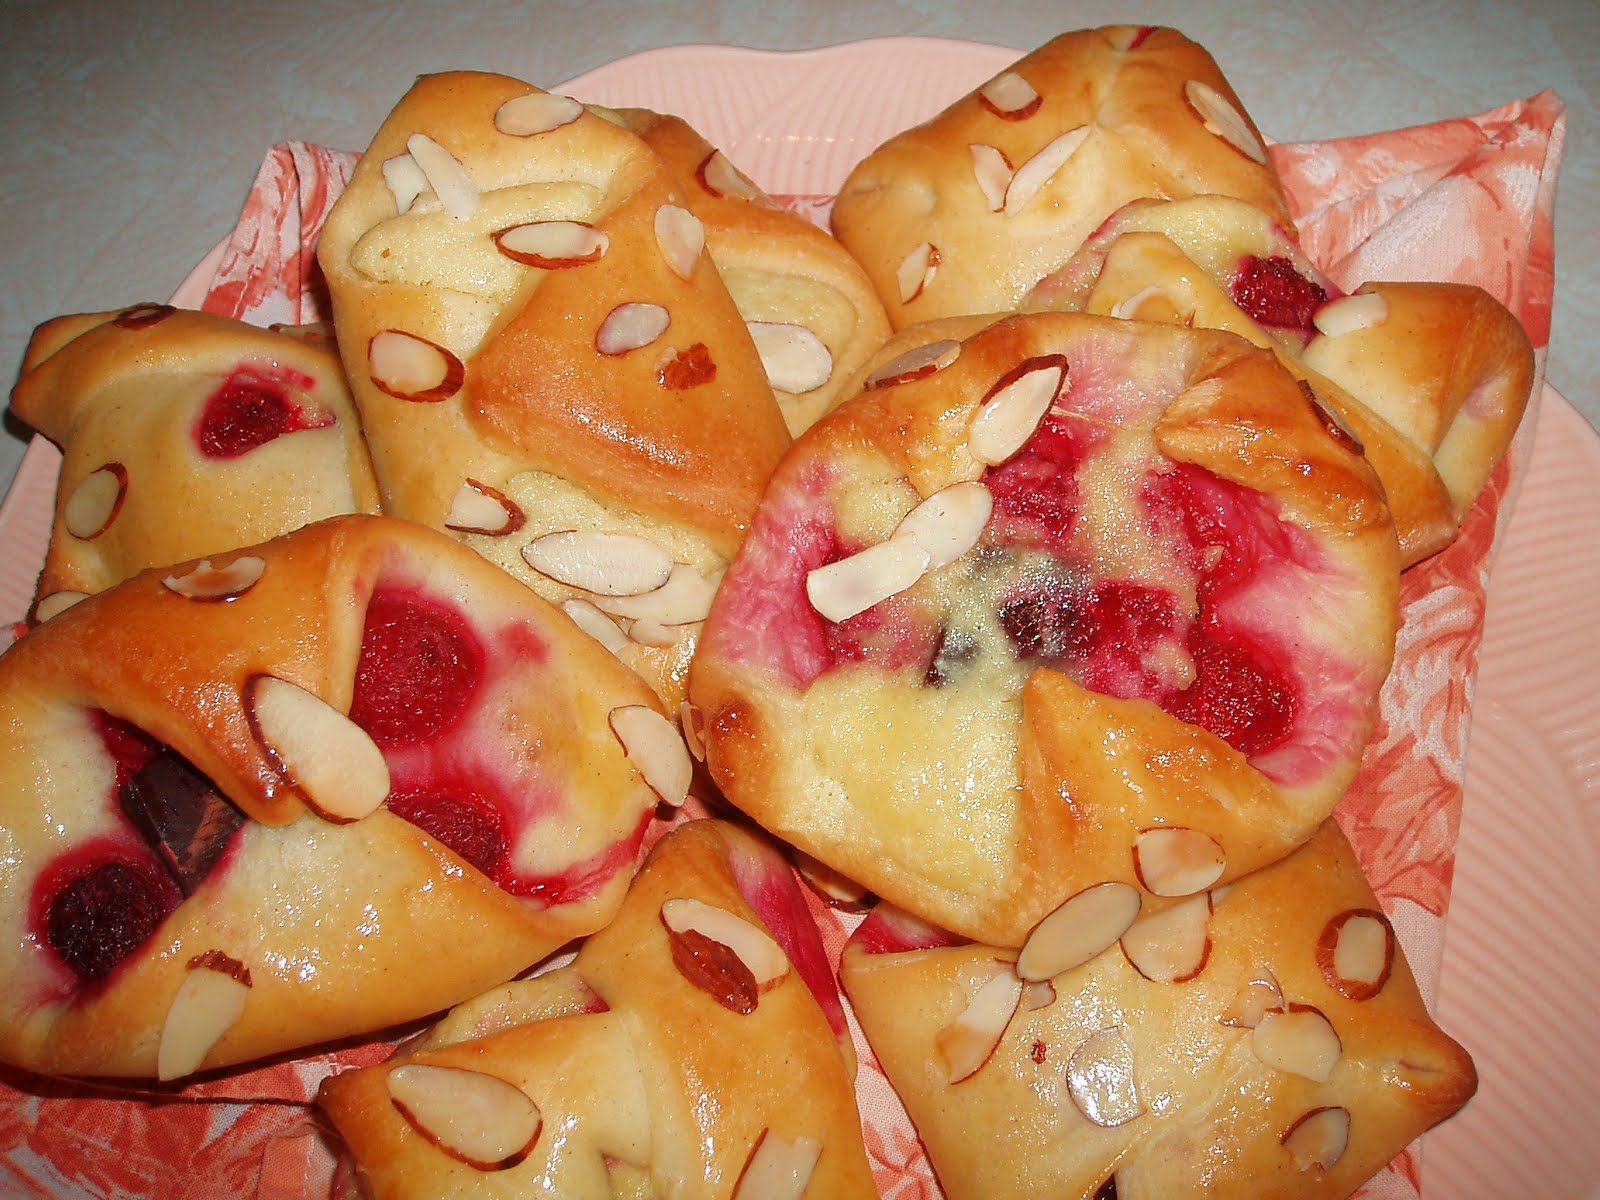
The finished pastry - texture may not have been crispy/flaky, but they tasted incredible.
This is the second batch. For these I made:
* bearclaws/cockscombs with almond filling
* cheese danish filled with honey sweetened cream cheese and dried bing cherries (reconstituted)
I believe either the filling should have been just the almond paste? or at least I should have used less. Some did squish out, but the filling tasted great.
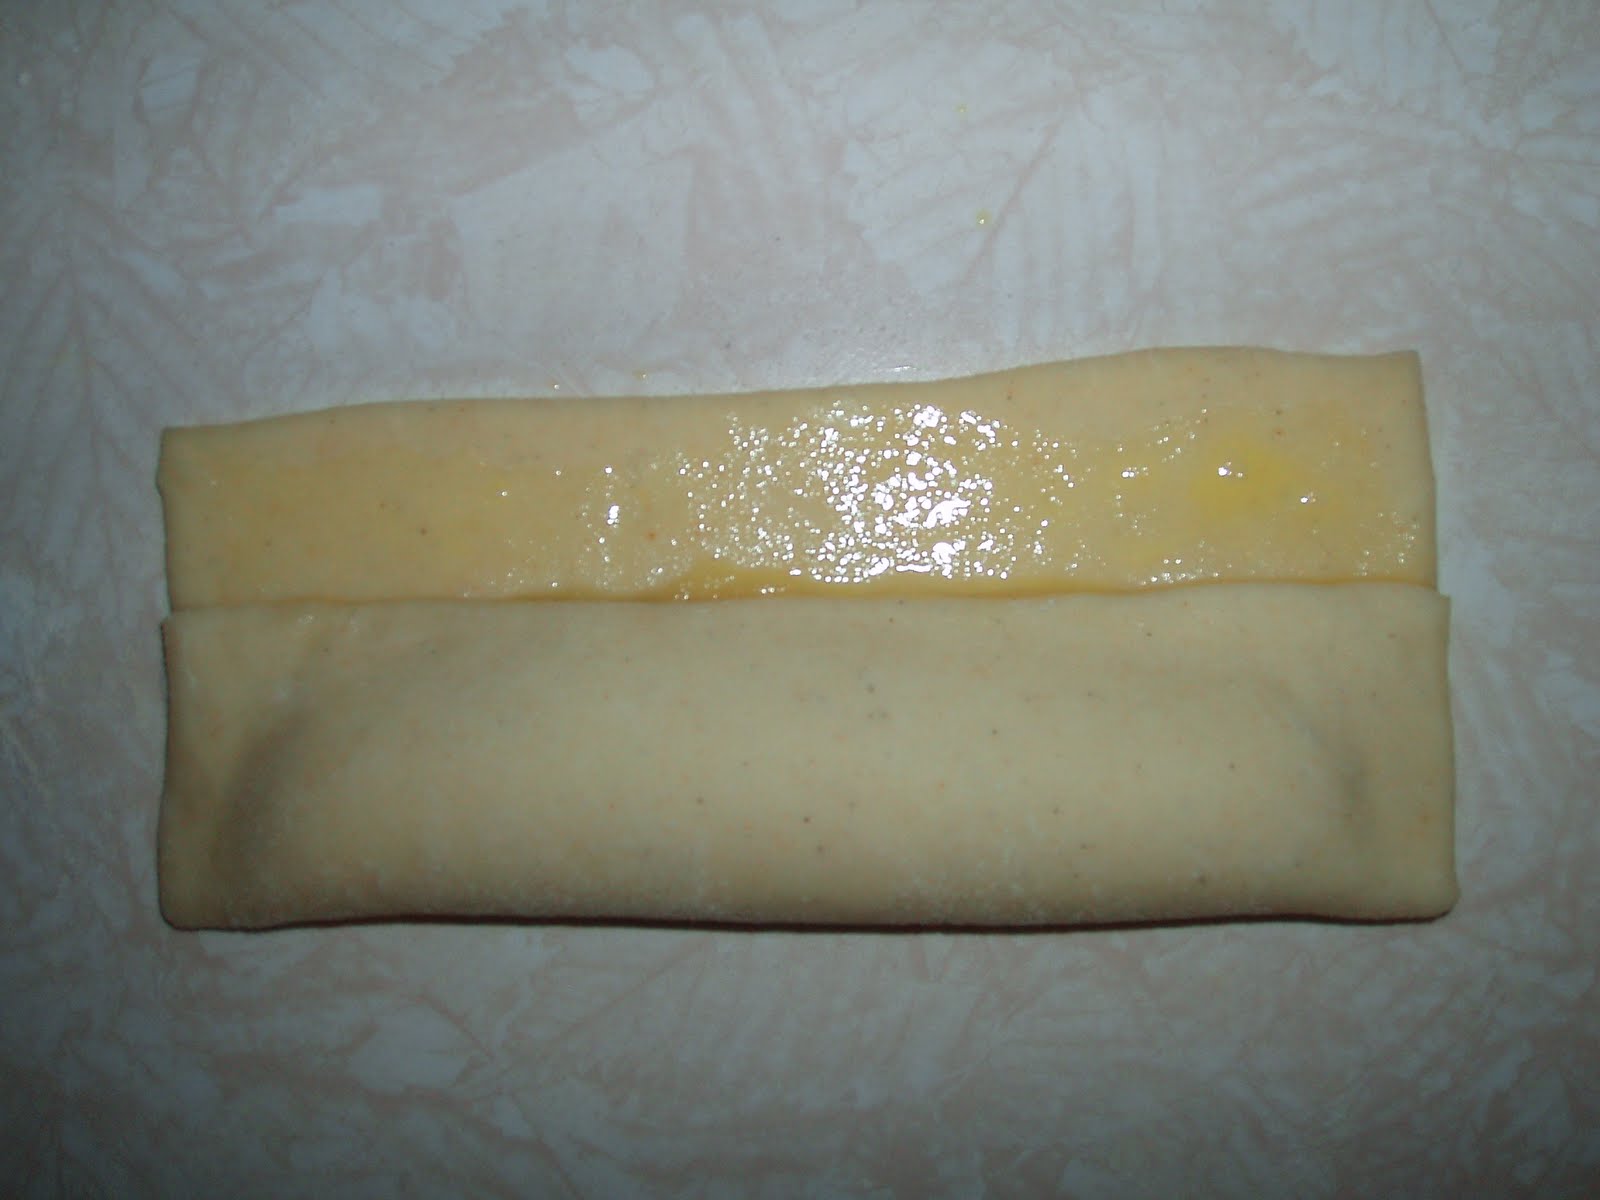
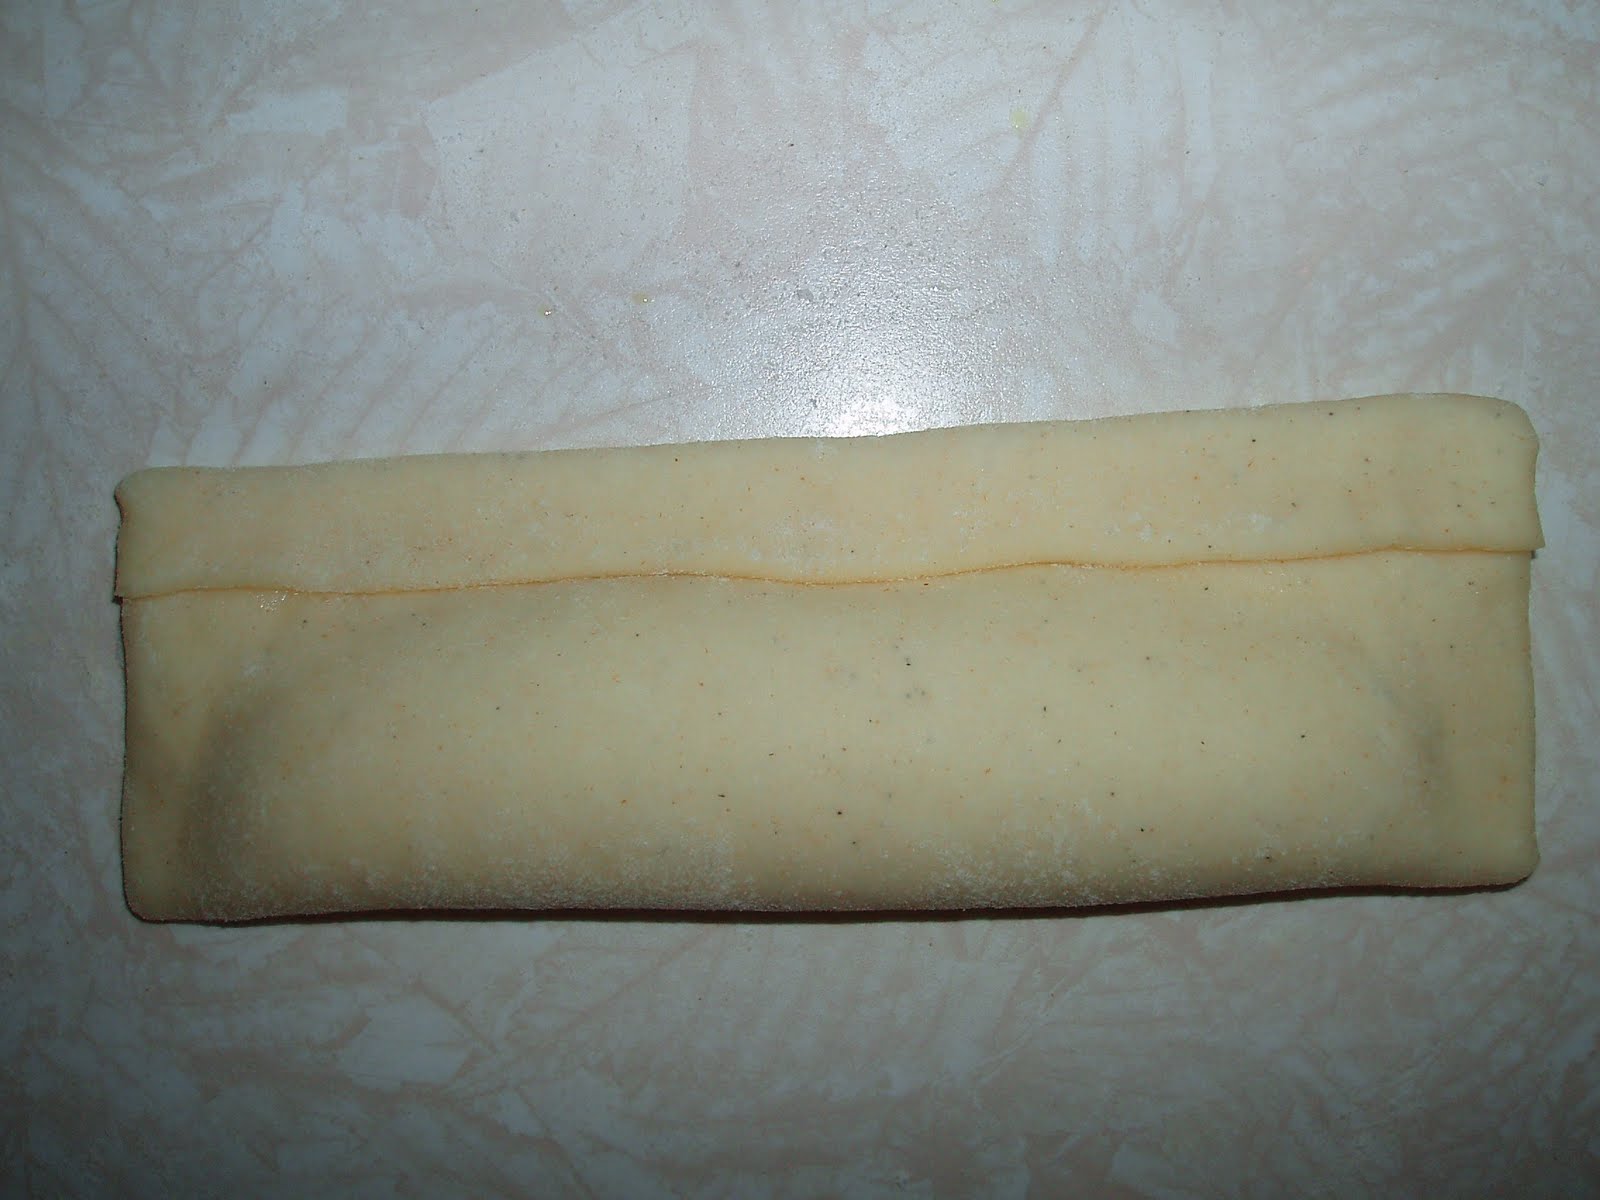
After filling, you put egg wash on the exposed dough and fold the dough over the filling. I gently pushed down on all sides to seal.
The next step is to fold the other side over, toward the filling side. At least this is how I think this is supposed to be done. The instructions I found were not completely clear, but I wanted to actually make these and not spend any more time researching!
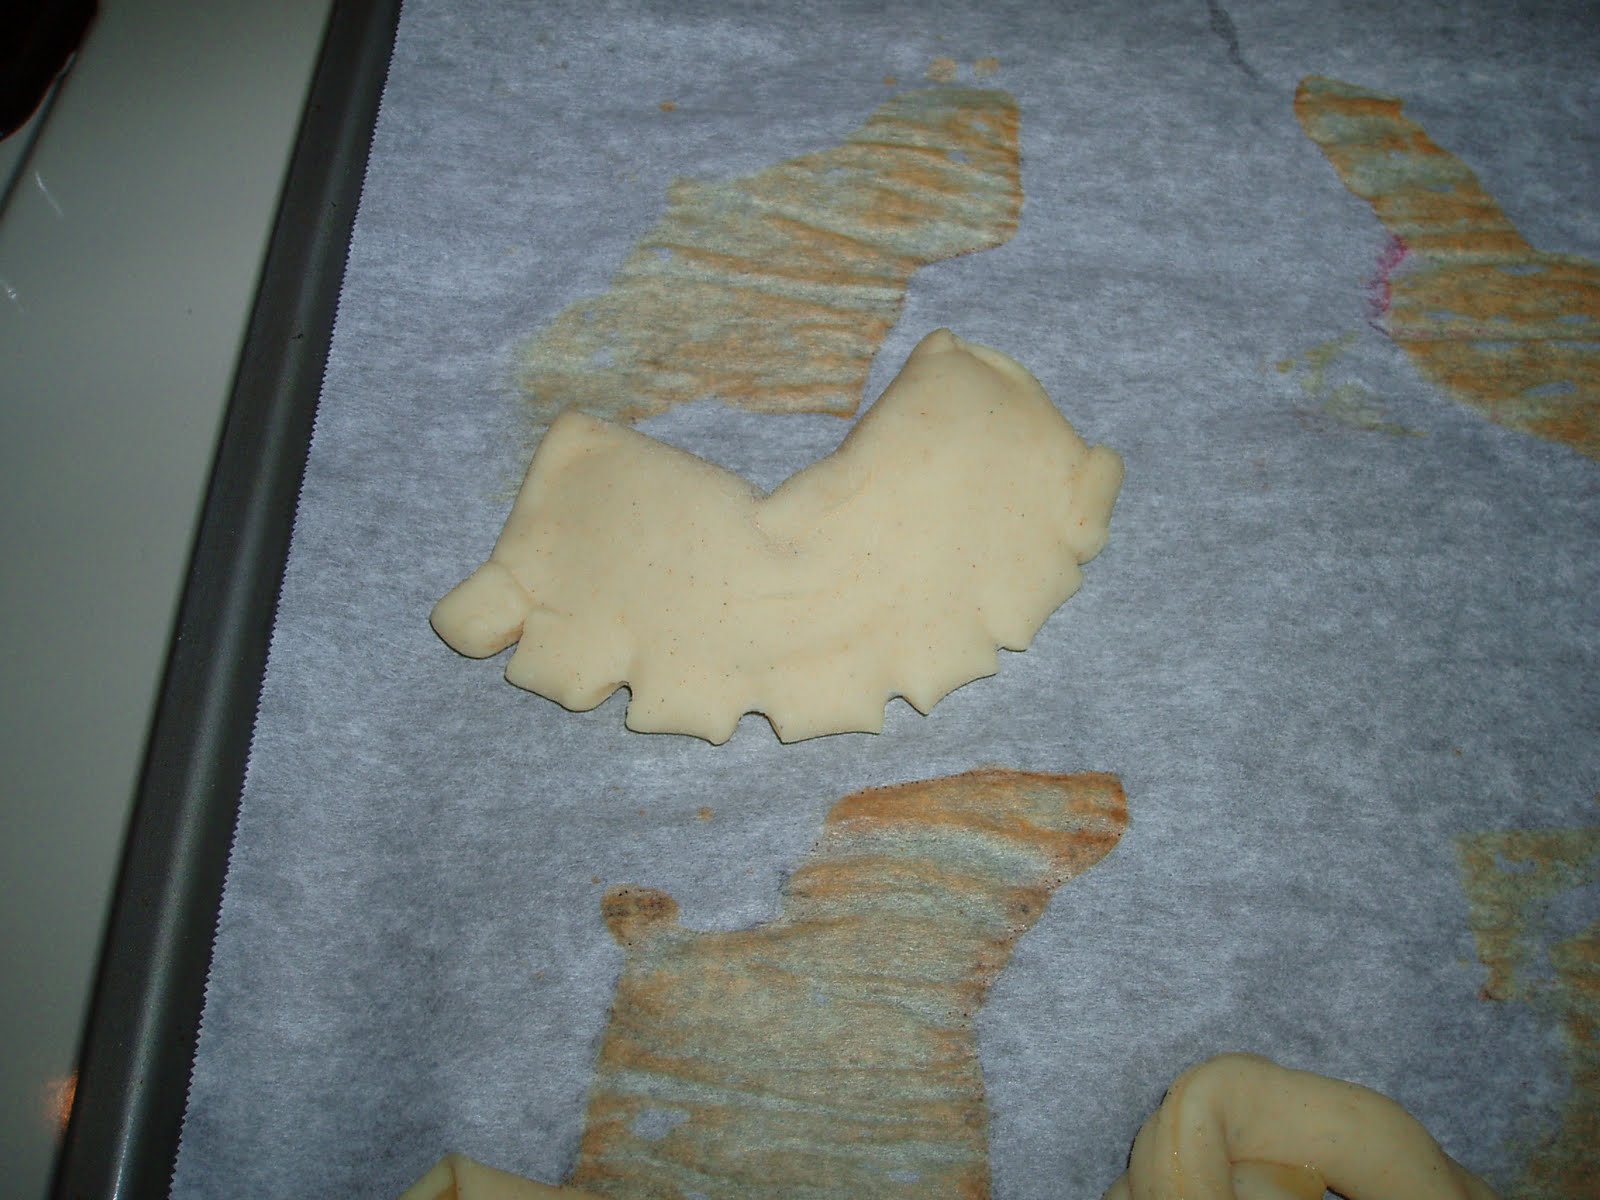
After flipping so the seam is on the bottom, you cut the "toes". I liked more cuts, so mine turned into the cockscomb shape instead.
Finished and awaiting the rise.
Ta da!


No comments:
Post a Comment